MON – FRI 7:00 AM – 6:00 PM

Bathroom Remodeling Process: A Step-by-Step Guide for Homeowners
Embarking on a home improvement journey can be one of the most rewarding experiences for a homeowner. However, the bathroom remodeling process often feels uniquely overwhelming due to the technical nature of the work.
Between the cramped quarters and the high stakes of waterproofing, there is a lot to manage. Understanding the structured stages of a renovation is the best way to maintain control and avoid budget blowouts or design regrets.
If you are ready to transform your space, start by exploring professional bathroom remodeling services to see what is possible for your home. This guide will walk you through every phase to ensure your project is a success.
Step 1: Planning and Defining Your Bathroom Remodeling Goals
The most critical stage of the bathroom remodeling process happens before a single tile is removed. Planning is the foundation that prevents mid-project changes, which are the leading cause of delays.
Start by identifying your “must-haves” versus your “nice-to-haves” to establish clear bathroom renovation goals. You should also decide early on if you are performing a cosmetic refresh or a full structural “gut” remodel.
- Assess Functionality: Does the current layout work, or do you need more storage and floor space?
- Determine Scope: Decide if you are moving plumbing fixtures or keeping them in their original locations.
- Set Timelines: Acknowledge that a full remodel typically takes 3 to 6 weeks of active construction.
Step 2: Setting a Realistic Budget
Transparency regarding costs is the hallmark of a savvy homeowner and a trustworthy contractor. To avoid financial stress, you must account for every variable from the outset.
A professional bathroom remodel planning tip is to always set aside a 10% to 15% contingency buffer. This protects you when unexpected issues, like hidden water damage, are discovered behind old walls.

Step 3: Design, Layout, and Material Selection
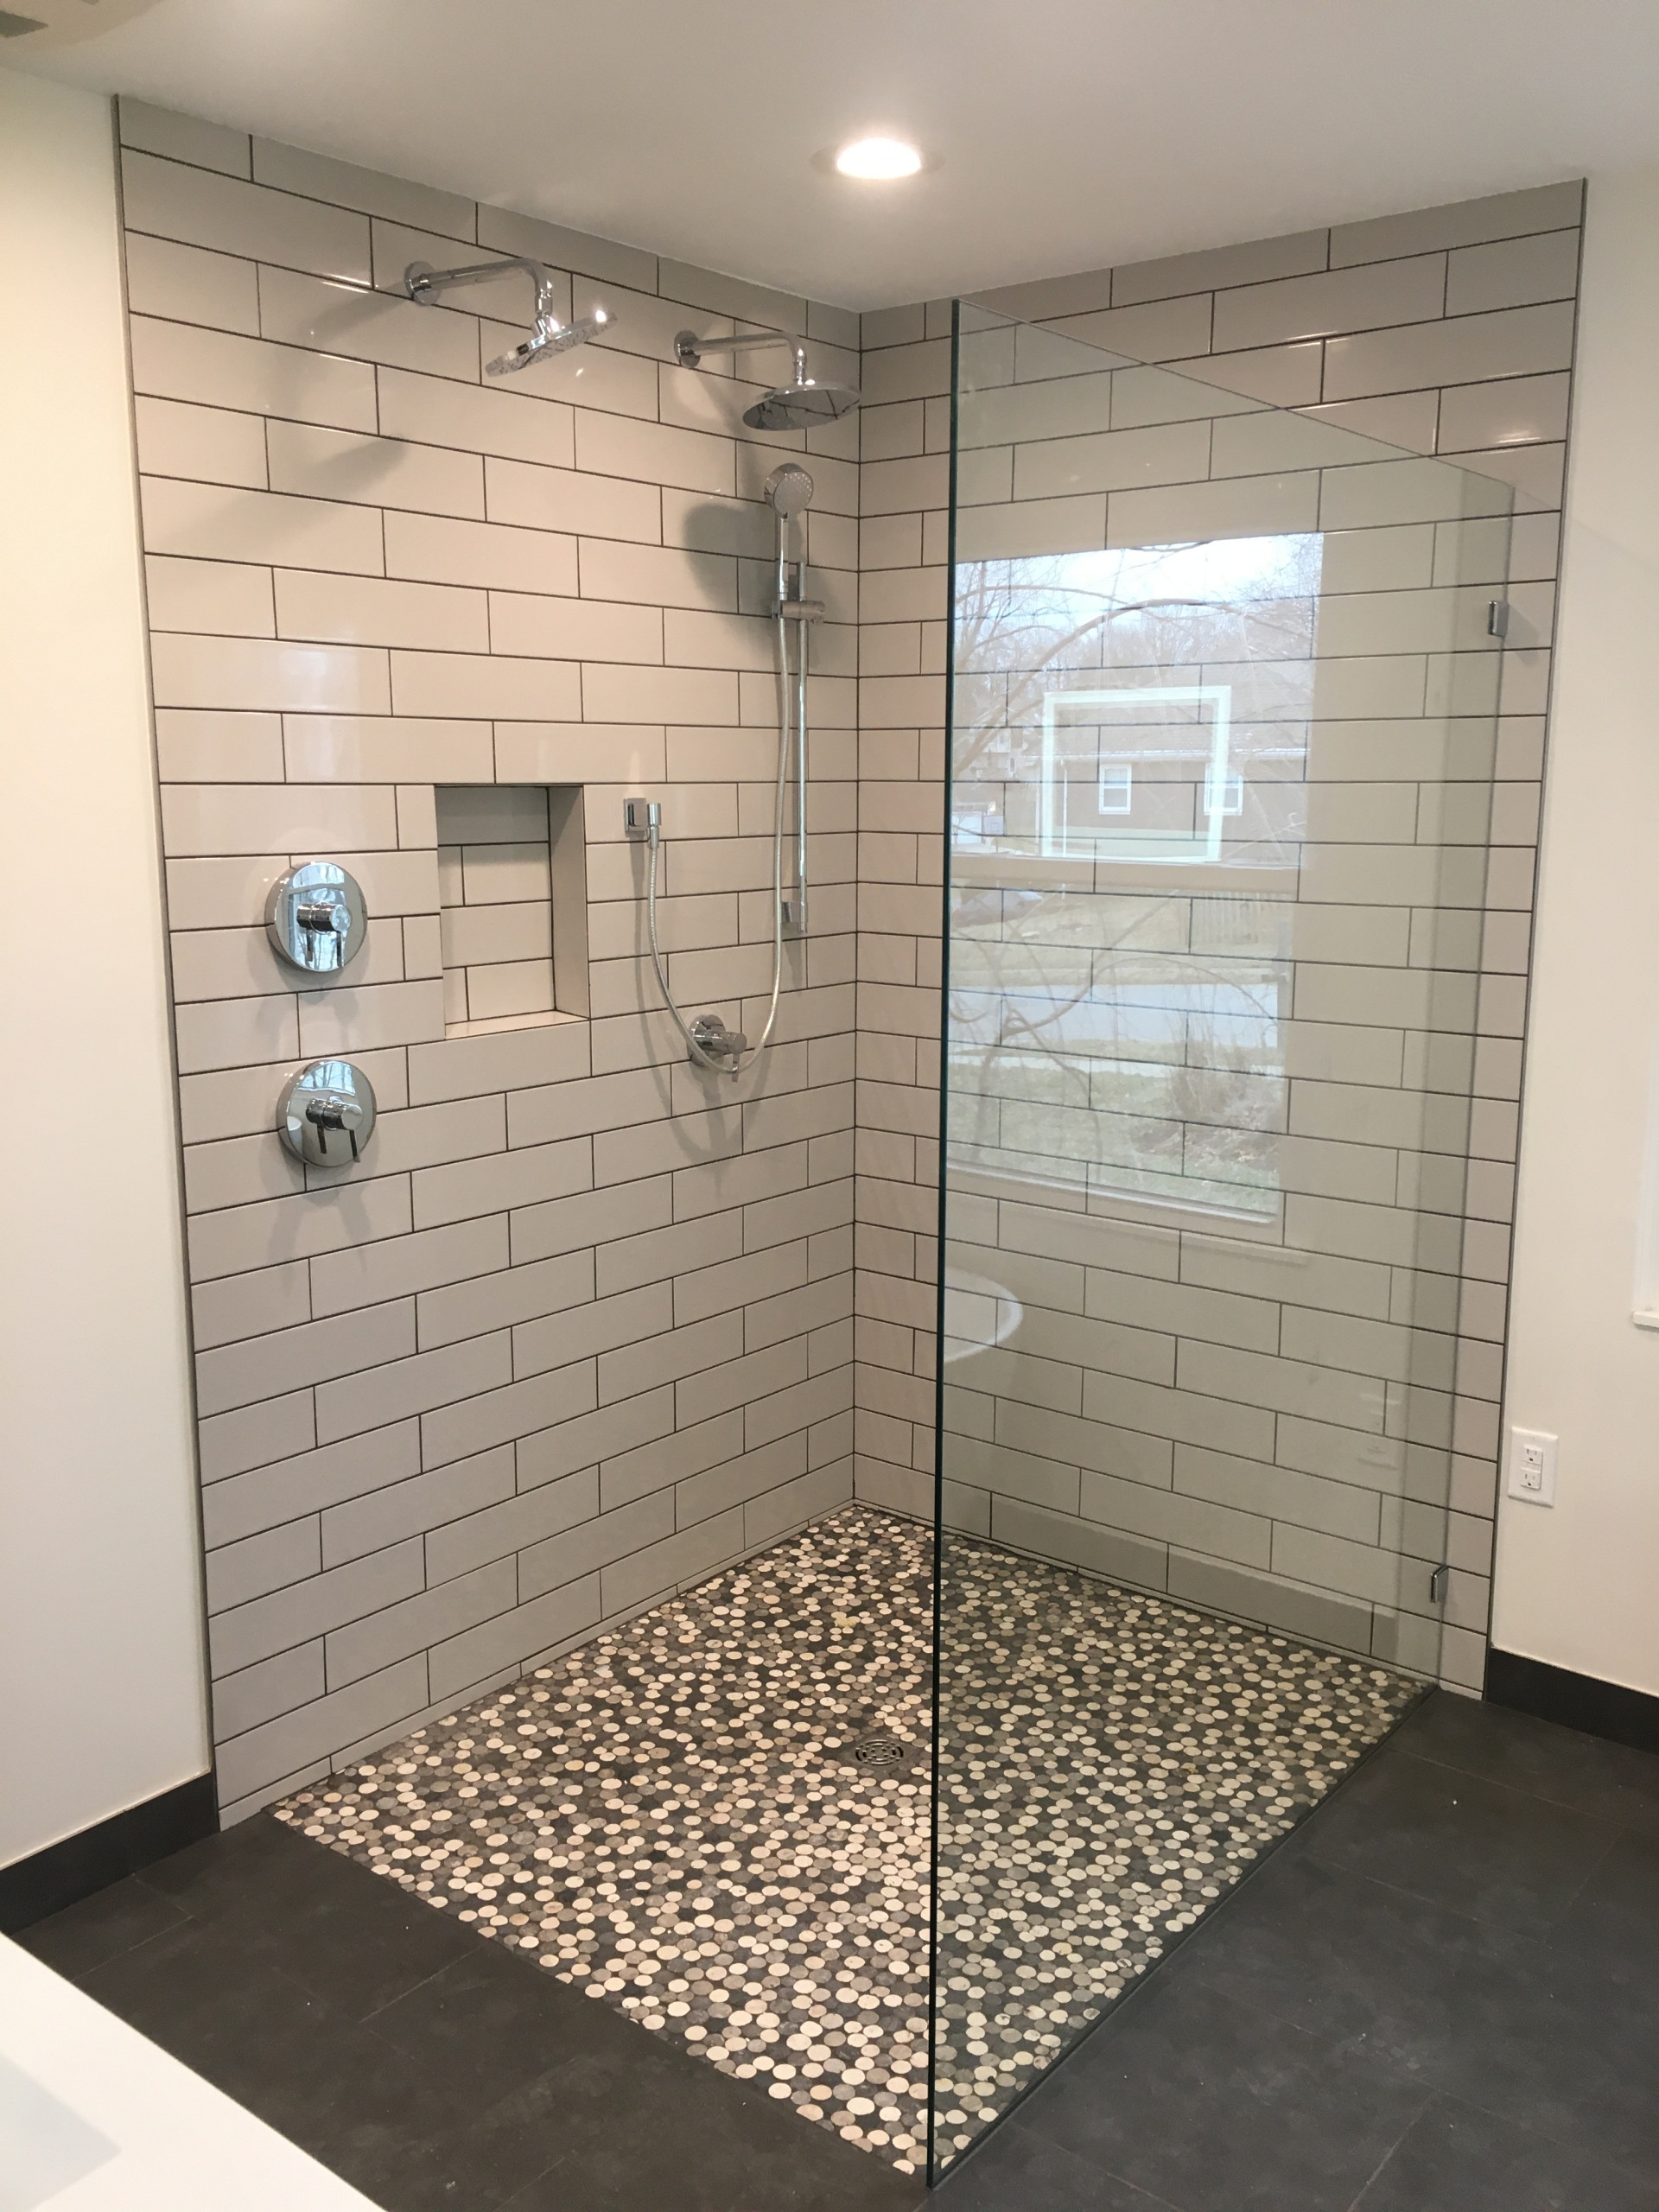
Design is where your aesthetic vision meets functional reality. When considering the layout, remember that keeping the “wet wall” (plumbing) in place is the most cost-effective strategy.
When selecting materials, prioritize durability alongside style. Bathrooms are high-moisture environments, so your choices must be able to withstand daily wear and tear.
- Tile: Choose slip-resistant flooring and easy-to-clean wall tiles.
- Vanity: Opt for moisture-resistant materials like solid wood or high-grade plywood over MDF.
- Lighting: Layer your lighting with task lights for the mirror and ambient lights for the overall room.
Step 4: Hiring the Right Bathroom Remodeling Contractor
The bathroom remodeling process involves specialized skills—plumbing, electrical, tiling, and waterproofing. Hiring a professional is the best way to protect your investment and ensure the work is up to code.
- Verify Credentials: Always check for valid licenses and comprehensive liability insurance.
- Ask for References: Speak with past clients about the contractor’s punctuality and cleanliness.
- Compare Quotes: Ensure every bid includes the same scope of work so you are comparing “apples to apples.”
Step 5: Permits, Approvals, and Pre-Construction Preparation
Many homeowners underestimate the administrative phase of a remodel. If you are changing structural walls or moving plumbing, permits are usually legally required to ensure the safety of your home.
Before demolition starts, you should prepare your living space to minimize the impact of construction. This stage builds a professional “buffer” between the job site and your daily life.
- Clear the Path: Remove rugs and furniture from the hallways leading to the bathroom.
- Protect Surfaces: Ensure the crew uses plastic sheeting and floor runners to catch dust.
- Secure Permits: Confirm with your contractor that all city approvals are posted on-site.
Step 6: Demolition and Structural Work
Demolition is the messiest and most unpredictable phase of the bathroom remodeling process. It involves removing old fixtures, flooring, and often the drywall to reveal the “bones” of the room.
This is the moment where common surprises, such as mold or outdated wiring, are discovered. Experienced contractors manage these delays by having a plan in place for immediate remediation.
- Debris Removal: A professional team will quickly haul away old materials to keep the site safe.
- Inspection: Once walls are open, the team inspects for any structural issues that need fixing.
- Safety First: Ensure all water and power lines are properly capped before heavy teardown begins.
Step 7: Installation of Plumbing, Electrical, and Fixtures
Once the space is cleared, the “rough-in” phase begins. This is when the plumbing lines and electrical wires are installed behind the walls before they are sealed.
Waterproofing is the most vital part of this step. Using high-quality membranes in the shower area prevents leaks that could destroy your home’s structure years down the road.
- Rough-In: Installing the internal valves for the shower and the wiring for new outlets.
- Inspections: City inspectors usually visit at this point to approve the work behind the walls.
- Backer Board: Installing moisture-resistant boards that provide a flat surface for your new tile.
Step 8: Finishing Touches and Final Inspections
The final stage is where the transformation becomes visible. This includes tiling, grouting, painting, and finally installing the “trim” items like the toilet and vanity.
Before the project is officially signed off, you will complete a “punch list” with your contractor. This ensures every detail, from the paint finish to the faucet flow, meets your standards.
- Tiling & Grout: The aesthetic centerpiece of the room is carefully laid and sealed.
- Final Fixtures: Installing mirrors, towel bars, and cabinet hardware.
- Deep Clean: A thorough cleaning is performed to remove all traces of construction dust.
Is Bathroom Remodeling Worth It?
Navigating the bathroom remodeling process requires patience, but the rewards are substantial. A well-planned project leads to better functionality, increased home value, and a daily sense of comfort.
By working with experienced professionals like the team at Restoration Remodel, you can ensure that your renovation is handled with the highest level of care and precision. Following a structured approach turns a complex project into a seamless home upgrade.